This isn’t a long post, nor do I have enough good pictures to show/prove how effective a cleaning trick this is (apologies for that) but I still think it’s worth a mention because I was so very impressed with how simple and effective it is at cleaning the rusty gunk from inside an old plastic coolant reserve tank.
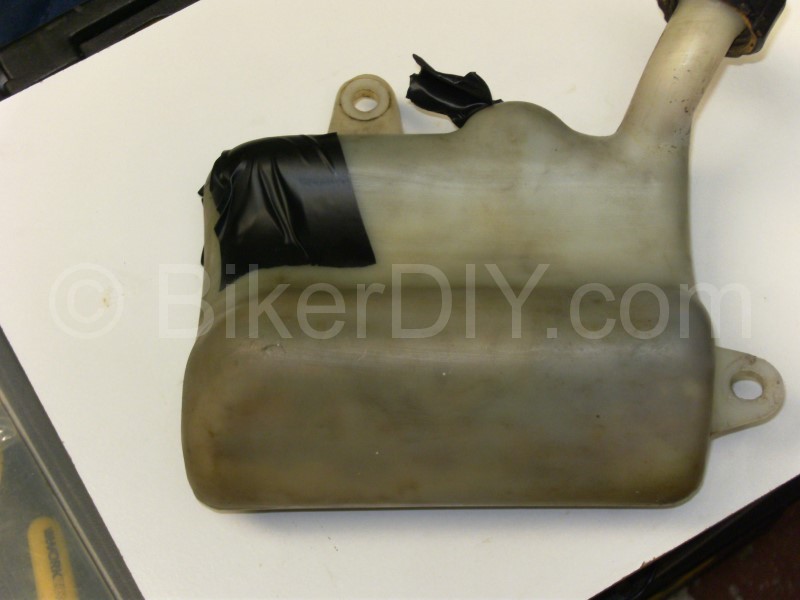
In the picture above is the coolant reserve tank from the Shadow. This picture was taken after I had scrubbed it, and bleached it, and soaked it in detergents, and scrubbed it again, left it soak for day’s and scrubbed it again.
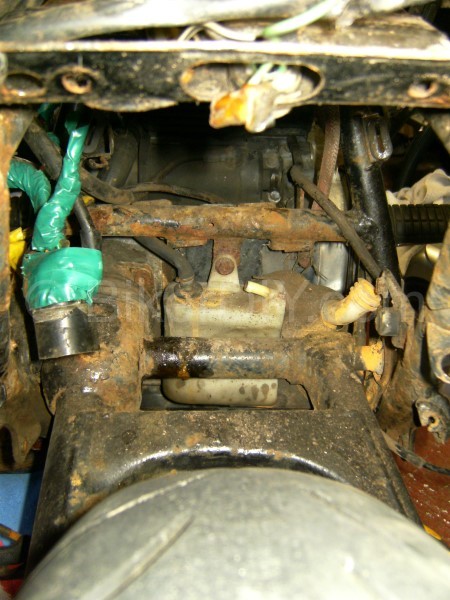
All of this attention was required because, as you might see from this picture taken while it was still on the bike, that it was in a poor enough state when I started with it. Once I had gotten the general dirt and paint drips off of it, it was apparent that I was unlikely to get it to look like new again as there was some ingrained staining on the outside and in some spots there appeared to be some browning like that which can occur to some plastics over time when exposed to sunlight.
But external condition, although ascetically displeasing, didn’t have much bearing on my main concern which was the condition of the inside of the tank which could have a direct influence on the effectiveness of the engines cooling system. Unfortunately for me a lot of the browning that can be seen in my picture at the top of this post is from rusty deposits stuck to the inside of the tank. This stuff aided by the shear awkwardness of the tank shape was evading my best efforts to get it washed off and like I said soaking, bleaching or detergents where having negligible effect on it.
Then I read about the idea of using rice, yep the fluffy white stuff you might consume with your favourite Chinese takeaway, as a great way to deal with it. And it appeared to be simple, effective, cheap and can be done at home, all of which are things I like a lot. And so here’s how I did it.
First off temporarily block up all but the filler cap on the tank. I used electrical insulation tape (as per pic above) which leaked a little on me but it served the purpose just fine. Then through the filler cap I just had to add uncooked rice to about 1/4 of the tank full. In with that I added a small scoop of washing soda crystals (I suspect any of the stronger household detergents will do here) and then I filled up the tank to about 2/3 full with boiling water. By the way a funnel with as big an outlet as will fit in the filler is a good way of adding all this stuff to the tank and avoiding throwing rice all about the place.
Once everything was in I replaced the filler cap, held it away from me and gave it a good shake for a while (3 or 4 minutes in my case). Like I said it leaked a little from under the tape as the air inside expanded but the effect was immediately obvious and judging by the state of the brown sludge that flowed out of it afterwards (which I’m really sorry I didn’t take a picture of) there was even more gunk in there than I had suspected.
I repeated the procedure again for good measure but this time the rice came out still white so I was happy that it had done all it was going to do the first time around.
And that left me with this.
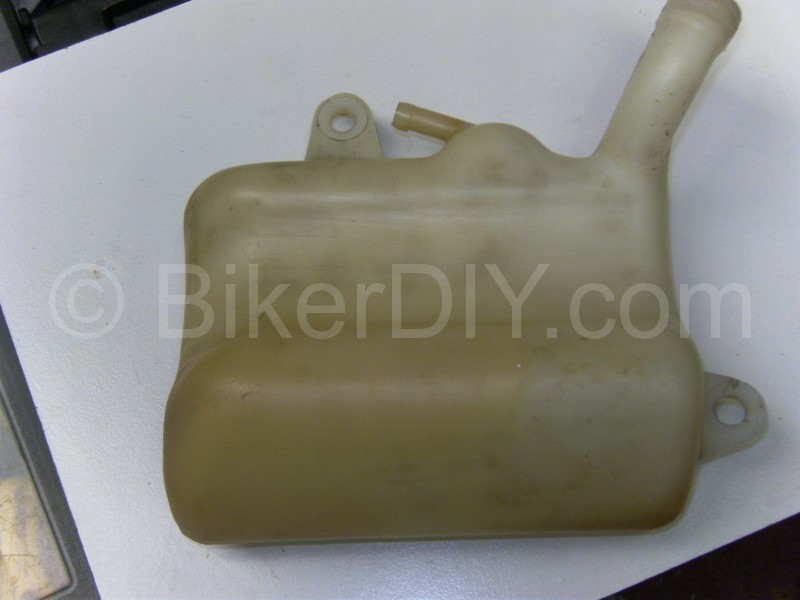
I know it maybe doesn’t look like much of an improvement from the outside with the few rubbish pictures I have, but thrust me it was impressive how effective it was and how easily and quickly it did it. Here’s a pic of the inside afterwards.

I only wish I had a before picture to show but at least you can make out how clean the inside was afterwards. The only marks left are the sun browned lines around the edge of the section that serves as the liquid level sight window on the side of the tank and since that isn’t going to effect the quality of the coolant then I am very happy with the results.
So there you have it. For the price of some rice, detergent and hot water I now have a coolant reserve tank for the Shadow that is as good as new, at least on the (all important) inside.