Part 1. The left hand side casing.
So, given that Bikerbabe had requested the Shadow be made black as much as possible, I had allowed that the now just barely silver/grey engine side casings would have to be removed and powder coated black.
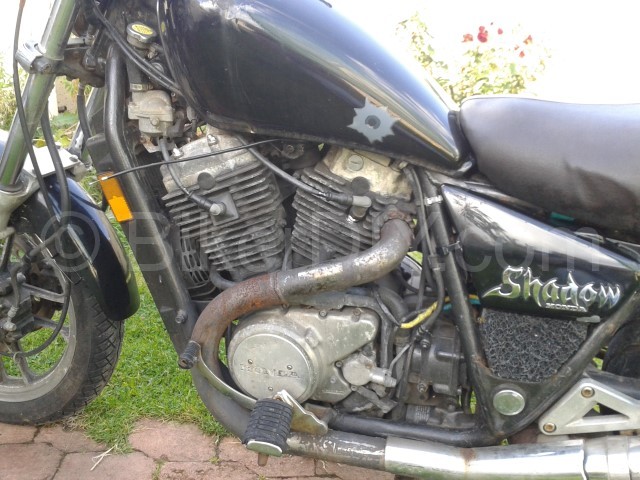
But then one evening as I was browsing the net for any and all the things Shadow I read that apparently for each year that Honda produced the VT700c for the American market (1984 to 1987) they had changed some of the colouring for the side casings of the engine as well as for other parts of the engine. The 1985 model it seems had a mostly black engine except for rocker covers but it’s side casings where silver/chrome with the Honda name in black lettering. Where as the 1986 model for example had an all polished/silver engine with just the “Honda” graphic in black on the right hand side casing. Now I like the idea of an all black Shadow, but given that of the four years that the VT700c models where produced only the 1985 model could legitimately carry it’s signature combination of silver casings and black lettering I felt that it would be a good thing to retain on the bike, and truth be told if I hadn’t already painted the rocker covers they would have retained there signature silver to.
So I elected to clean/polish the engine side casings back to silver/grey starting with the left hand side generator cover. My plan was to clean back to a matt, brushed look, bare aluminium for the casing and a slightly more buffed finish for the circular name plate. For protection I decided rather than lacquer I would try out an anti corrosion sealant recommended (and provided) by a friend that was apparently designed for the aerospace industry called Jetseal 109.
And so I set to.
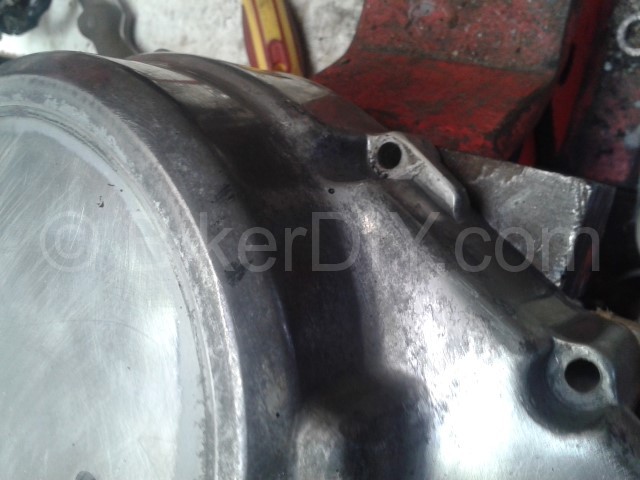
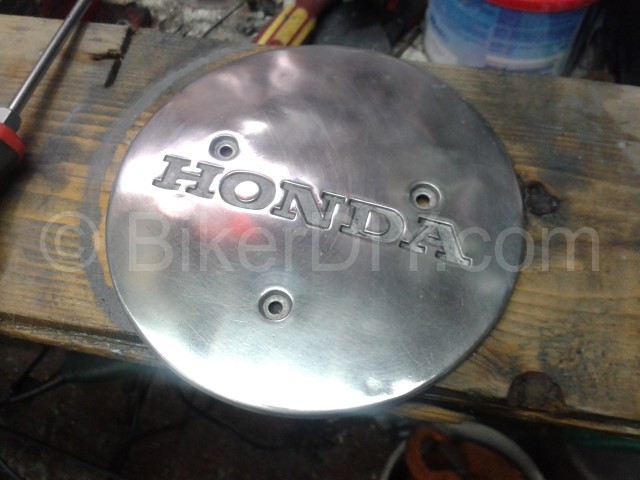
And boy did it look like I had a job of work to do on this if I was going to make it anyway pretty again.
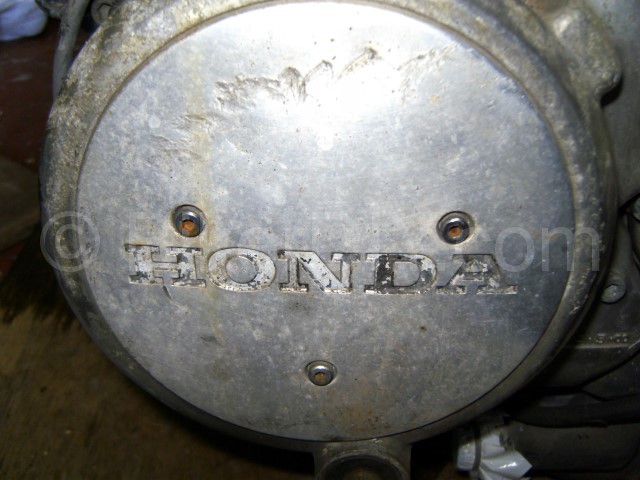
As you might see above as well as suffering from neglect and exposure to the elements, the casings had picked up a few battle scars along the way. The circular plate in the picture above actually only serves a cosmetic purpose and is quite light so the marks across it’s forehead (so to speak) are actually dents rather than gouges as the plate buckled when it was hit. I had to temporarily become a sort of panel beater and hammer them back out to a near smooth curve first before I could start in with wet and dry sandpaper and polishing. As it happens this plate provided a useful starting point because I was able to test out sand papers and polishes on the casing behind it without worry of damage I couldn’t cover afterwards. And it turned out it was quite simple (if a little tedious) to achieve what I think is quite a good result with the casings.
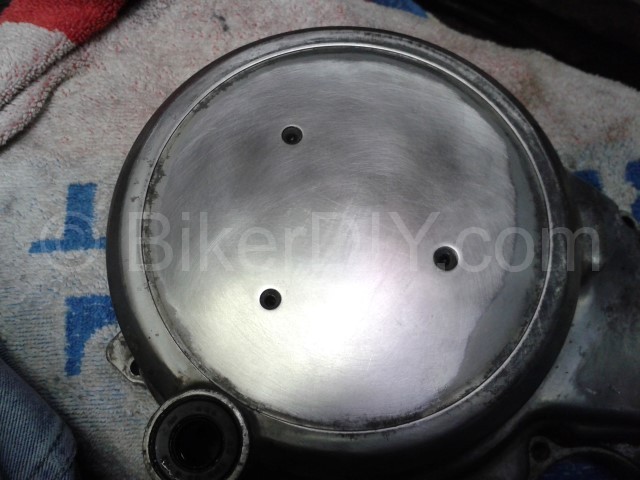
As you might spot in the picture above there was a coating of silver grey lacquer or paint still holding on in some areas of the casing. I don’t know if this was original or if someone had re-coated along the way but because it was missing in places it all had to go. The bulk of the heavy removal was done with the aid of a wire brush and 240 wet and dry sand paper.
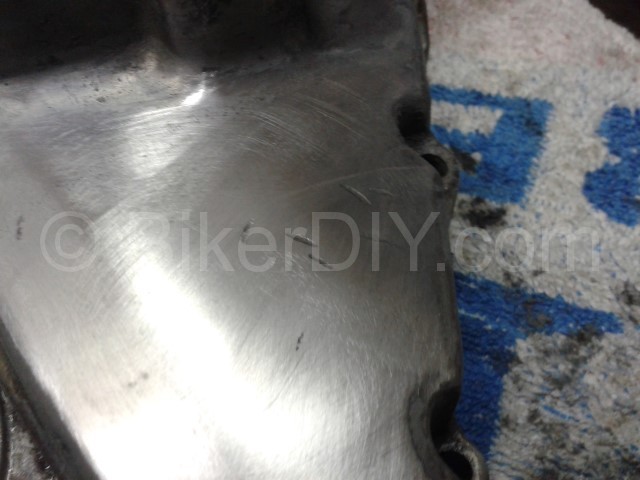
Some of the corrosion while not actually pitted was still quite deep into the metal as were some of the scars. Patience and small area by small area attention with a scrapping tool and some needle files followed by wet 240 sandpaper was my only way to deal with it. And so it went for probably 4-5 hours (not all in the one visit) cleaning up this casing and the plate.
After that followed finishing visits with 400 and then 600 wet sandpaper until I had reached the kind of “brushed” look grey I wanted on the casing. But like I said I wanted a slightly more buffed look for the name plate so I picked up a little polishing wheel for a tenner (€10) that I thought coupled with Autoglym metal polish might be enough to give me just a little bit of extra shine. But boy was I ever wrong about that.
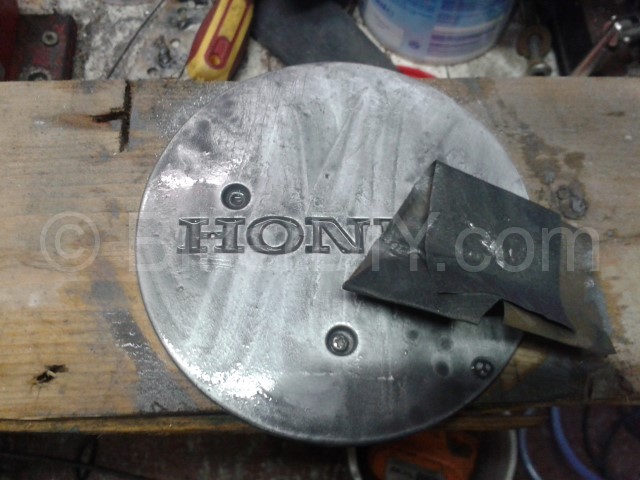
After only a couple of minutes work on the slowest drill speed the polishing wheel and polish turned this…
into this..
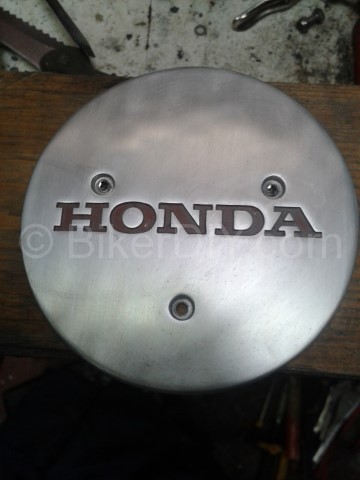
And then into this…
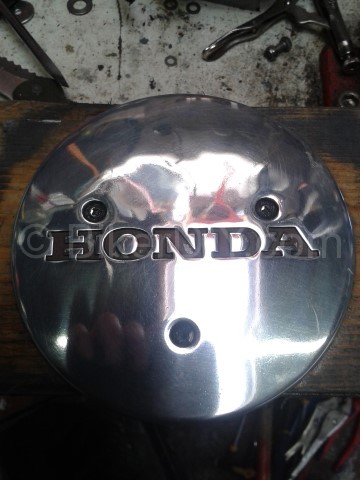
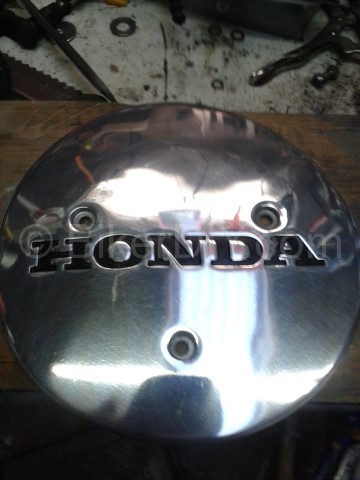
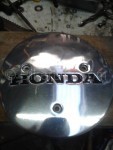
It’s not mirror finish but it’s very very shiny and with the Honda letters painted black the transformation was all the more amazing. And just for comparison here it is on the engine before…
And after…
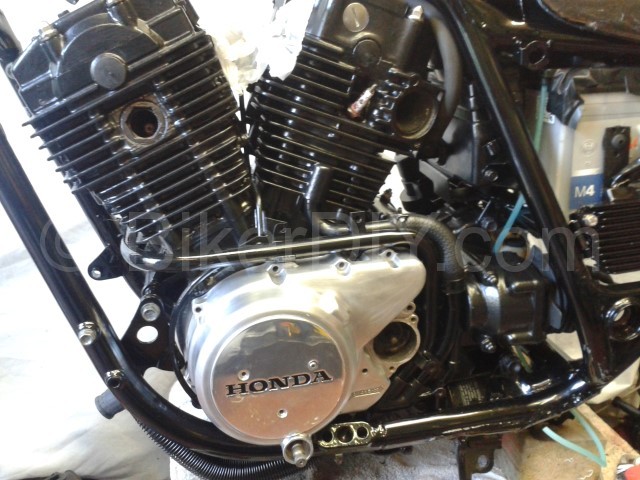
After I was finished being pleased with the results of my efforts it got wiped down with a solution of 10% IPA and water to remove any polish residue and it then had two very thorough passes of Jetseal 109. Several weeks later the shine hasn’t faded, but I will update on the Jetseal protections performance when this engine sees real world riding to test it.
For now I am well pleased.


