How to adjust the oil flow from the 2 stroke oil pump on an Rgr125 Gamma was the subject of a thread lately on a site I have been known to frequent. I made an attempt at an answer for them and since writing that post it struck me that if someone somewhere might need information like this and since I had already written it, then it was worth posting this info here too.
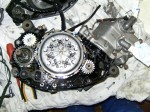
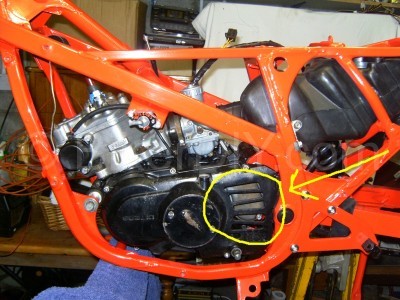 The 2 stroke oil pump on an Rg125 Gamma engine resides behind a metal plate which is itself behind the drive chain and right hand side engine cover. You might need a new gasket afterwards for the engine cover depending on the state of the one coming out but having said that I don’t think I’ve ever had to replace one during this procedure. You can actually also get the pump cover off and adjust it without removing the chain but why make things difficult for yourself. Even if the chain link is the riveted kind you should still be able to get enough slack on the back wheel tensioner to get it off (and back on) the drive sprocket so that it’s out of your way during the adjustment.
But first things first.
Since the pumps output is metered in relation to throttle position (as well as rpm) you should make sure your throttle cable (to the carb) is set up correctly first. This is done by means of the adjustment of one or both of the tension adjusters one of which is situated on the cable end as it meets the throttle, and the other is where the cable meets the top of the carb slide tube.
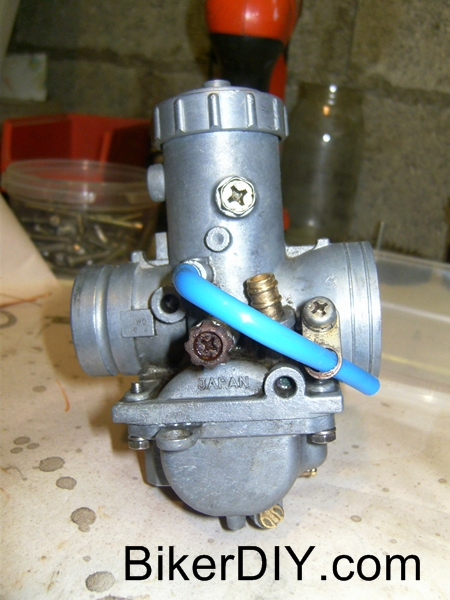
Once the carb is set to your satisfaction you then remove the short bolt in the side of the carb slide body. It is usually a hex head bolt with a Philips drive cut in as well and it is situated about half way up on the LHS of the slide tube offset slightly to the back of the carb (as it’s situated on the bike). It is almost directly above the fuel inlet in the picture ->. If you look into this screw hole and twist the throttle you should see a dent on the side of the slide as it passes the hole. You (or a helper if you have only two hands) need to hold the throttle so that this dent mark is just at the top of the viewing hole while your remaining 2 hands adjust the pump cable setting.
The aim for standard engine set up is to have the mark on the control lever of the oil pump line up with the index mark on the stop peg above it when the dent in the carb slide is just at the top of the screw hole. Hence the reason (I assume) that the hole is where it is in the carb, so that you can see the dent while your at the pump adjustment.
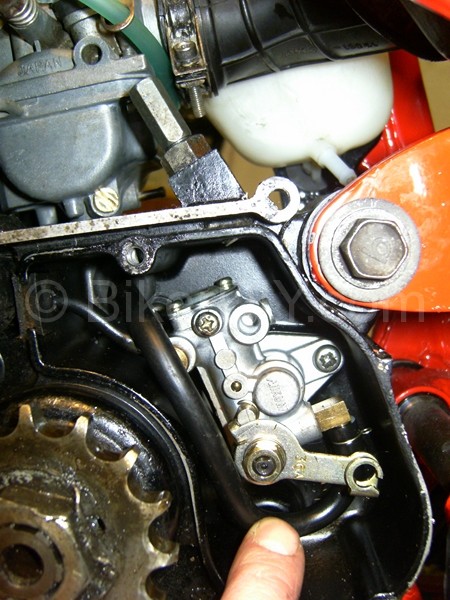
To adjust the oil pump control lever position you need to turn in or out the adjusting screw on the end of the control cable where it enters the engine casing just above the pump (top of picture–>). To increase oil supply, thread the adjuster (up) out of the casing and likewise to reduce oil flow thread the adjuster (down) into the casing. Once the line on the arm matches the corresponding line on the stop that should be it, as in you now should be providing the least amount of 2 stroke oil into your engine to maintain correct lubrication without wasting oil solely on creating 2 smoke.
Note 1: Please pay particular attention to make sure you tighten the lock nuts on all the adjusters after you’ve done with them. I have found that failing to do this leads to said adjusters “self adjusting” during periods of vibration, such as when the engine is merely running.
Note 2: This procedure and indeed engine design assumes a couple of things, it assumes that you have a strategically placed third arm for starters, but more importantly it assumes that your oil pump is working efficiently. Actual specifics for quantity of oil injected are 1.6-2.0 ml at pump full open for 2 minutes at 2,000rpm but you really shouldn’t need to get into testing that, unless you have doubt about whether your oil pump is up to the job or not.
I doubted it and I tested it, but I’m not getting into that in this post. I hope you find this useful and best of luck with your project.