In this the first post of it’s kind for the Shadow I am just going to draw your attention to what would have been a small detail when I was fitting the coolant reserve tank to the frame but because I didn’t have the foresight or the experience then, it cost me a lump of time, patience and skin later.
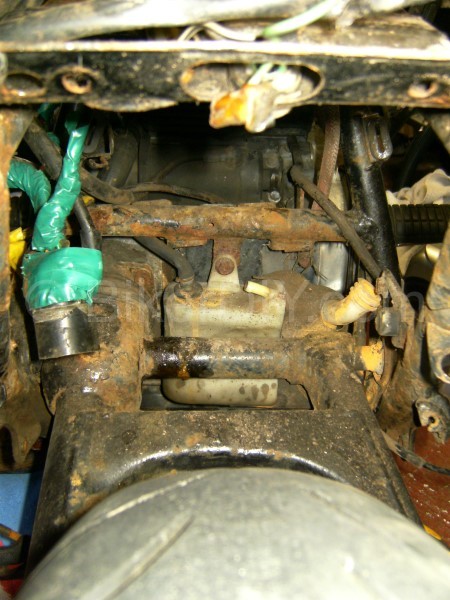
I will refer you to this post where I show the coolant reserve tank fitted in it’s home directly behind the engine. As you can see in the above “before” picture the 2 connections are clearly visible and readily accessible.
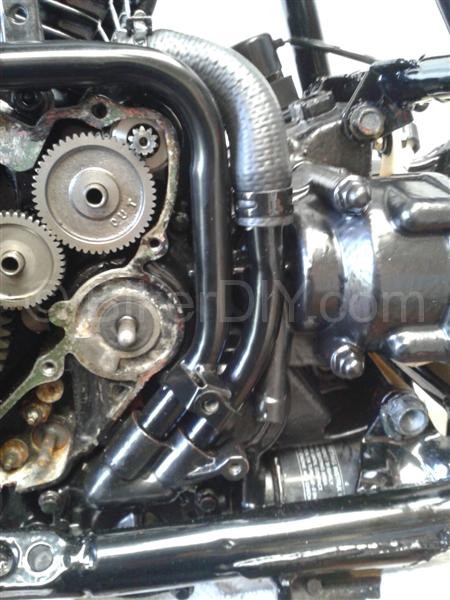
Well much later in the build I have reached a point where the coolant (and other fluids) are being added to the engine. This requires of course, completion of all the coolant circuit pipes and hoses.
The engine/radiator main pipes while all in quite restricted space are easy enough. But then I realise/remember that there are two pipes that need connecting to the coolant reserve tank.
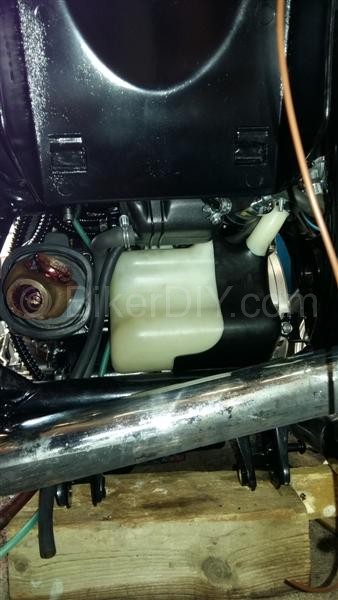
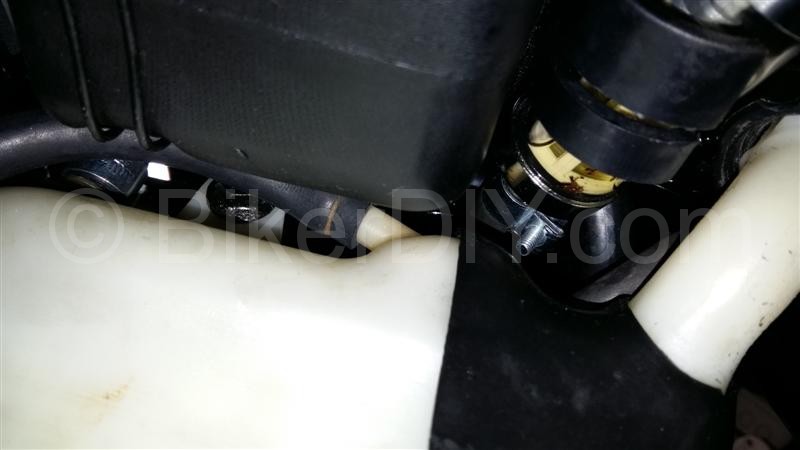
The tank is easy enough to see but what is not as easy to see or to get to anymore are the feed and overflow connections on the top.
I had thought I was safe enough for access getting in there before the swing arm went on but it’s actually the air box above it and the battery basket and regulator that are blocking access to the connections on the tank.
So there you go, the lesson is when your putting in the coolant reserve tank fit the two hoses to it then and there or at least before you put in the battery basket and regulator. It’s a lot easier to look at them coiled up on the frame for a while than it is to fit them later.
Even taking this picture of the connections was a feckin chore.


