How can a single piece of plastic be this much work…
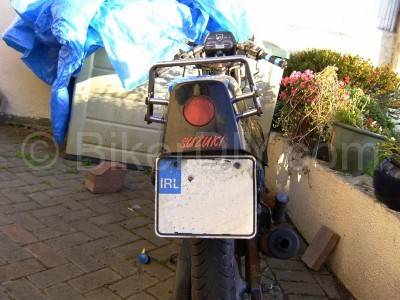
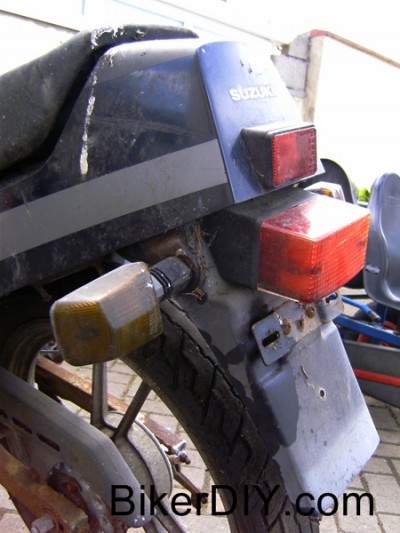
I hadn’t realised right away but the back end of the gamma was a little short. The back mudguard which by the way does a lot more than just guard against mud was about 10 or more inches shorter than was Suzuki’s original intention. This deliberate removal of all of the plastic from immediately below the indicators was common practice apparently as a fashion thing so I’m told.
This type of surgery usually meant that a new home had to be found for the reg plate which would have been mounted onto the lower part of the mudguard. In this bikes case the bulb holder part of the brake light was relocated to inside the tail, hence the red lens in the centre of the tail piece, and the reg plate mount was put up as tight to the the plastic of the tail as possible and supported by the plate that used to hold the tail light. The modder also saw fit to leave out the rectangular reflector that should be on the tail as well.
There are two reasons why this had to be put back as original. One was that I wanted to restore this bike to as close to original specification as possible, but the main reason was that the laws of this land nowadays required, amongst other things, details like a white light of a certain brightness shining on the reg plate. A detail which this particular modification did not allow for.
So, not for the first time, enter donor bike 1. It’s back mudguard was at least full length, albeit damaged.
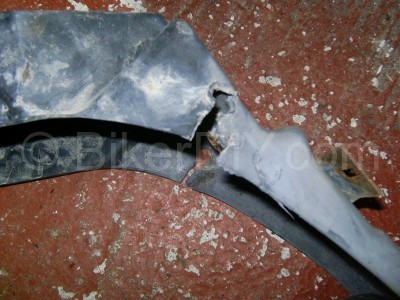
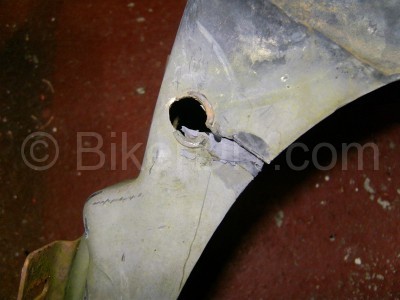
I can’t even guess what might have been the cause or reason behind the damage but this almost complete mudguard had bloody great big slits gouged in it from the indicator mounts to the wheel arch which where making it a very weak piece of plastic altogether.
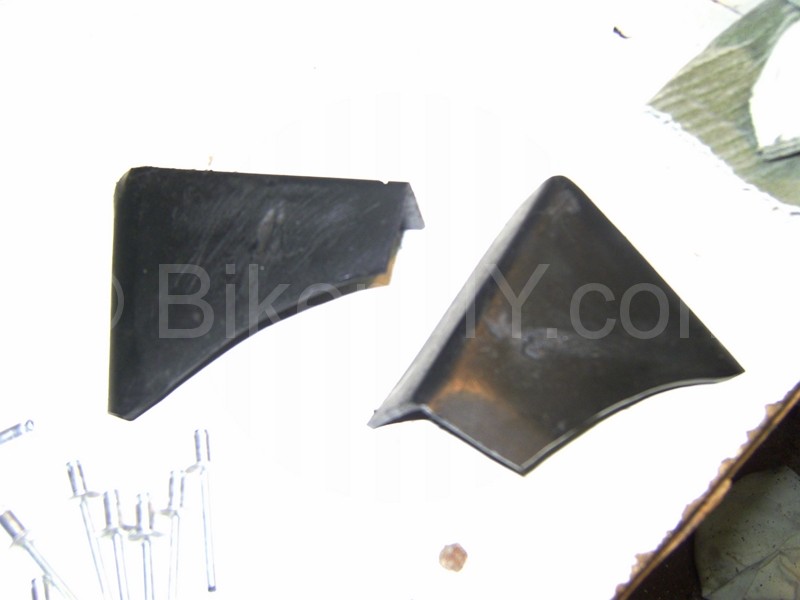
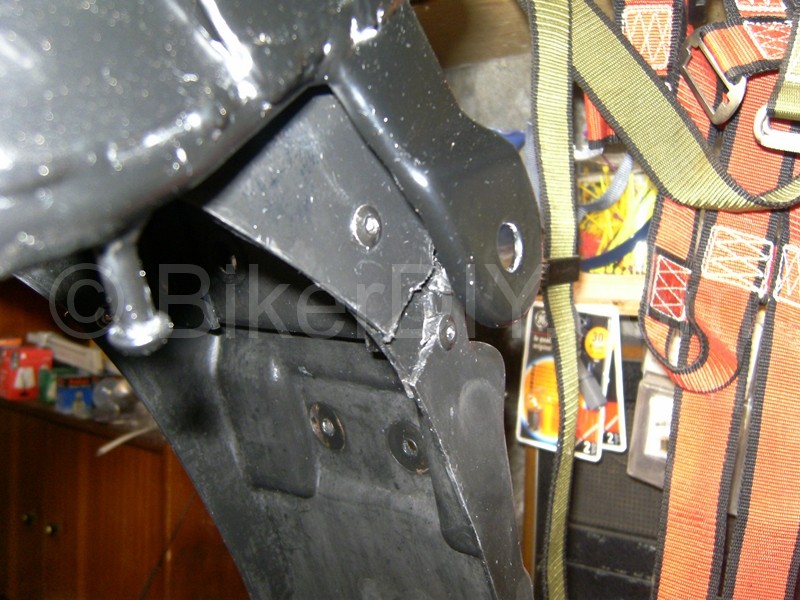
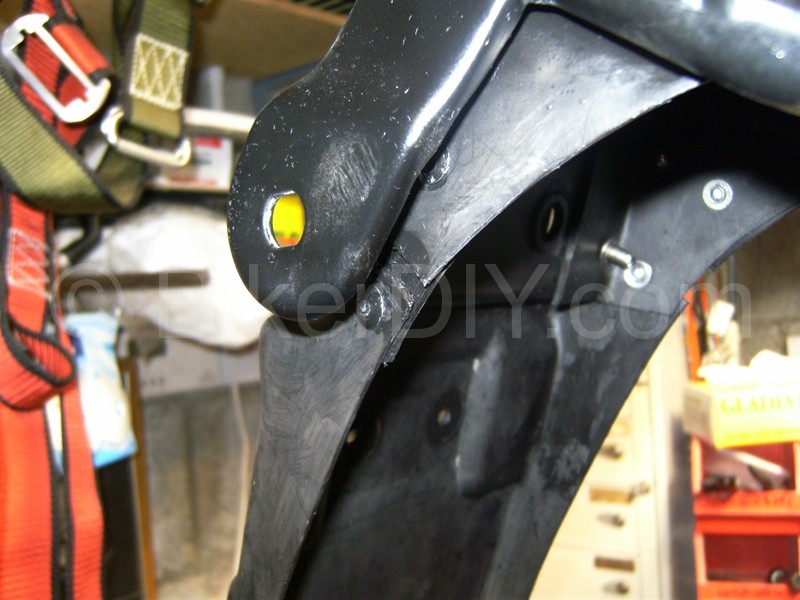
Then all at once inspiration hit me when I realised that the bit that was damaged on the donor mudguard wasn’t damaged on the original mudguard. So I set to cutting the corresponding undamaged sections out of my original mudguard.
and a few pop-rivet’s and several coats of back to black later and the jobs a good’n or at least the jobs a better’n I think.
And I would and should have been happy enough with this result. I got my full length factory spec(ish) mudguard and you could barely make out the repair what with it being behind the indicator mounts. It’s not like it was to be a show bike or anything.
But after all the effort the very fact that this bike would now need a factory specification tail light meant that I might end up finding a factory specification back end for my Gamma. And I did.
And donor bike 2 came with a full undamaged factory spec back mudguard which after a bit of back to black treating came up just fine.
This of coarse effectively made my previous several hours of work pointless and obsolete…sigh. Ooh well, never mind though. I was already happy enough to pay the few bob I paid for that donor bike, just for it’s tail light and maybe it’s 3 indicators, so gaining the back mudguard is pure gravy even with the wasted effort on my other mudguard attempt.
As an aside if anyone is in the market for a nearly factory spec rg125 Gamma back mudguard I might be able to help. 🙂
