The forks.
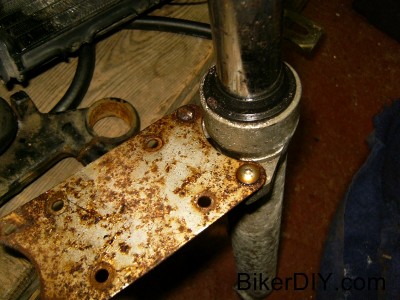
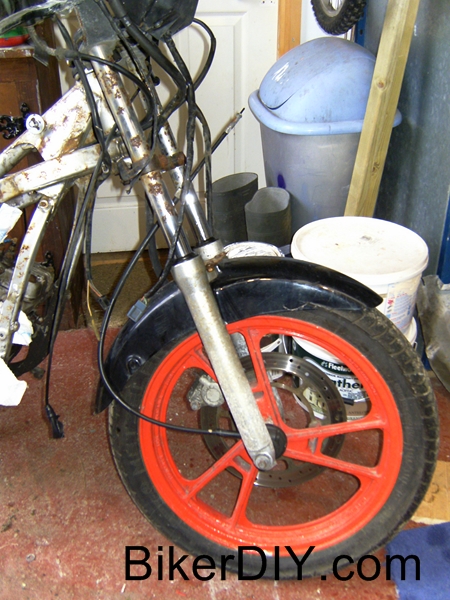 When I first drove the Gamma, which was shortly after it arrived at my place, one of the many things I noted was that the front shocks while still going up and down were in a pretty poor way, with significant rust over a lot of the exposed chrome sections. The outer tubes were unpainted from original and had corroded up pretty strongly except where the fork oil had covered the top section as it leaked from the worn out seals (all bad sign’s :().
These forks would have to be completely dismantled and re-worked, with a trip to an operation like Manlys likely. I’ve never gotten anything re-chromed before but I gather they will take the inner tubes, machine off the original chrome and the rust with it, then re-chrome the whole lot fresh and machine it to size for about €160 a pair. It was going to have to be done because there is no point in putting new seals in with these tubes as the rough spots would eat the seals away fast and besides that they looked terrible.
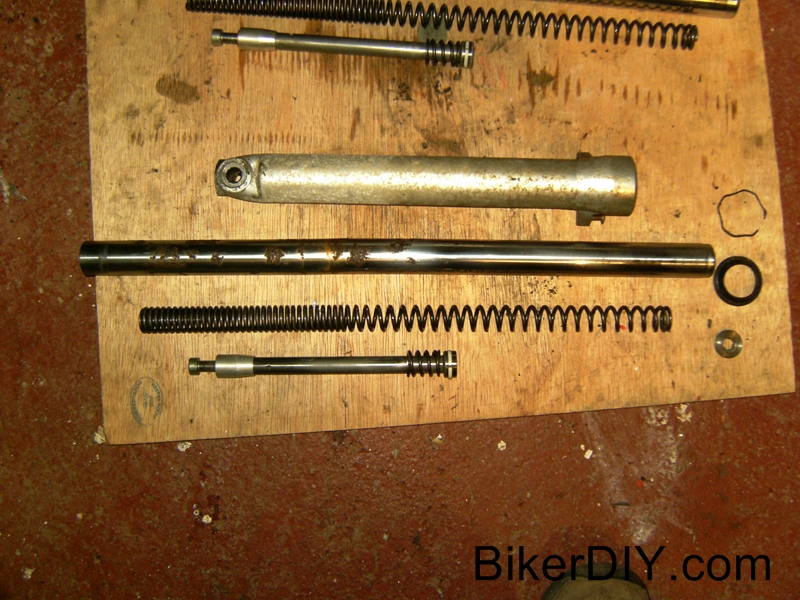
But after I took them apart I discovered a couple of extra issue’s. First of all the inner tubes weren’t a matching pair. As far as I can tell they are both rgr125/80 front fork inner tubes but the ends don’t match suggesting one was a replacement.
But that wasn’t the big problem. If you look closely you might be able to make out that the inner tube in the picture above (centre of pic) is actually bent. I didn’t spot it myself when I took this picture (seems so obvious now when I look at it) but when I put the tube down on the bench and it rolled over I realised why the seals where so badly worn. Now a bend can be worked back out in a press so not the end of all hope just yet, but then I spotted the big old dent in the side wall at the centre of the bend. It would appear something rectangular and about the size of a finger got driven into the tube. I’m guessing this was either the cause of the bend or damage caused while attempting to fix the same bend, but either way it was the end of the re chroming options, as getting the bend and the dent out was an relatively expensive proposition….sigh. Then along came donor bike to the rescue. (Cue hero music…lol) The front forks where in much better shape on this bike although there is still a small amount of rust, but these little spots were above the travel range of the seals so a little bit of polishing to clean it up and a regular drop of sealant will keep it from rusting any worse for a while yet.
And so on to the outer tubes.
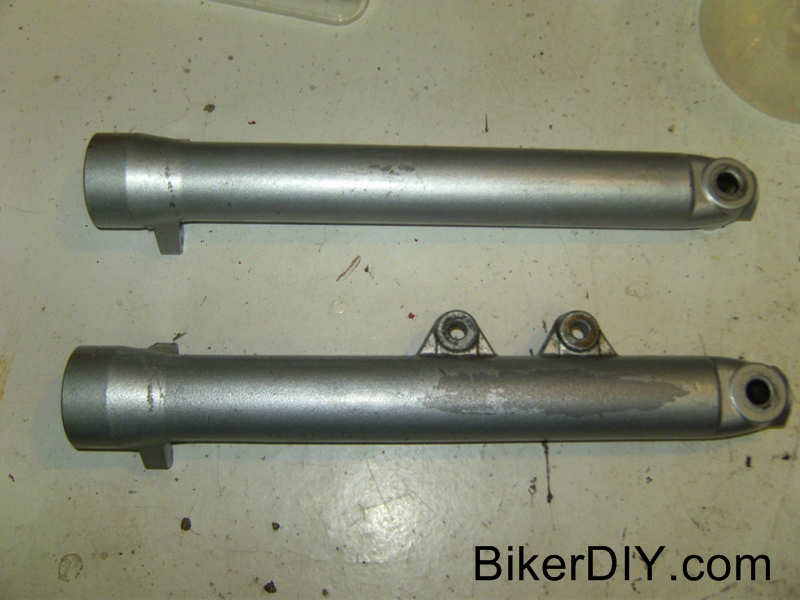
Again the donor bikes bits where in better shape than mine as they had seen cleaning up and painting already in their life. Somebody had painted them a metallic grey which originally I was just gonna use as the base for my own new paint which as I will cover in another post is going to be black.
My paint guy said I could just rub them down and he would be able to paint them as is. That seemed a good enough plan until one day while visiting a local auto factors that mixed paint, I found that they will fill a 400ml aerosol can with self etching primer for me for €20. So I nitromors and sandblast the old paint off and I become “paint guy” for a couple of minutes and prime the parts myself.
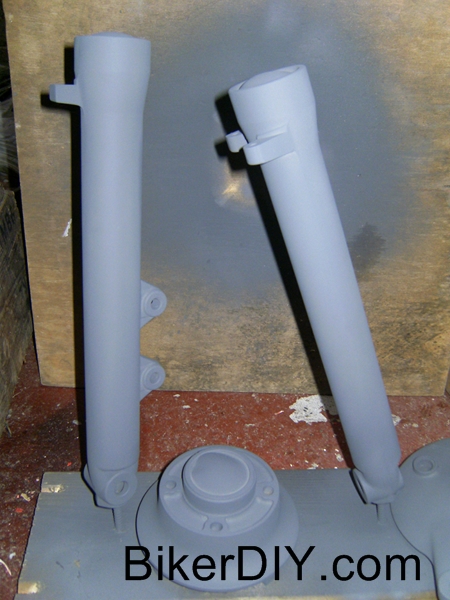
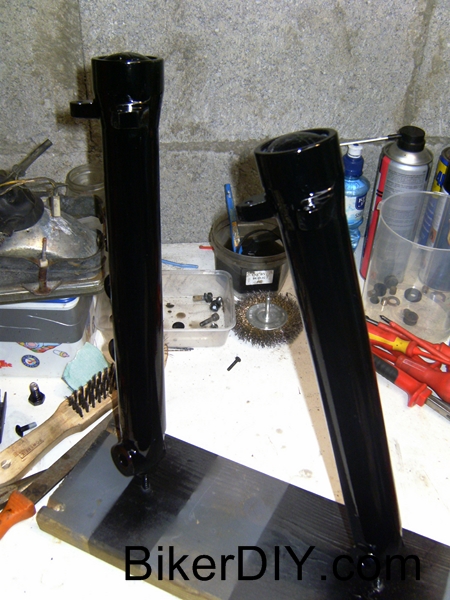
I then leave them with my paint guy who does this to them….
N.B He didn’t paint the two sides of the back wheel hub yet as they are going to be red which he will do whenever I am ready with the wheel rims as they will be red also. He did however in the same visit paint the brake calliper housings and the front mudguard mounting bracket….
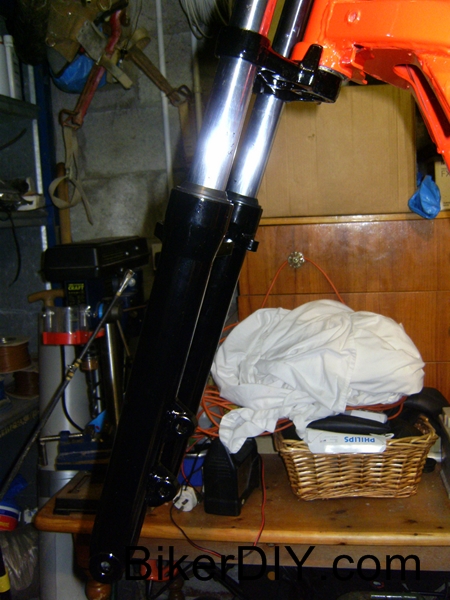
And as was the case with the frame they are a thing of beauty to me, so I put them together and mount them on the bike.
Now I realise I just jumped past a large amount of detail when I said “I put them together and mount them on the bike”, but apart from me having to come up with a way to measure fork oil to the exact required level (oil which doesn’t taste nice BTW :)) because I don’t have the Suzuki recommended tool to do it, it really went by the numbers and the brake calliper isn’t featured here because I intend that the front brake system will have a little bit of a write up of it’s own elsewhere.
If anyone would like more detail by all means drop a comment on here or start a thread at our forum.
Incidentally, the paint used for this is also a turbo paint like the red on the frame but this particular black has been chosen because it has a colour match in a water based paint which will be used to cover the tank, front mudguard and fairings (That’s the plan at this point anyway. :)).
