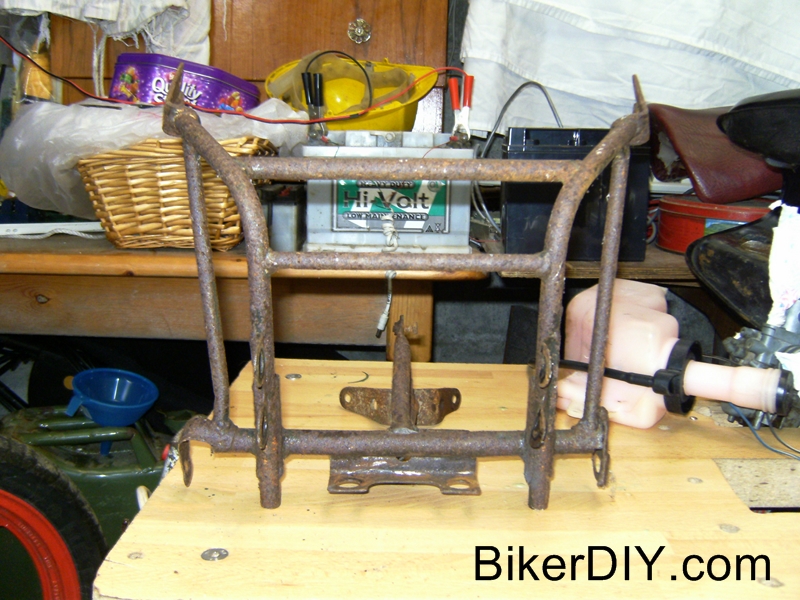
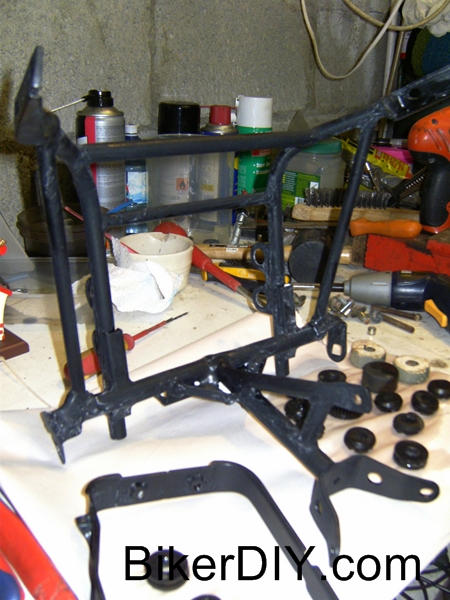
At the front end is an extension of the frame into the nose of the bikes fairing called the brace. While the brace has no complicated tech or moving parts, it’s influence over the outward look of the bike is almost total. It is the part that ultimately decides how the front fairing and therefore all the fairings sit on the bike. It also holds the mirrors, the front indicators and the headlight, all of which must be in their correct positions relative to each other and to the fairing.
So now that I have made an attempt to indicate to you how important this part is, then I can tell you that the one that came on the bike was in a right old state……
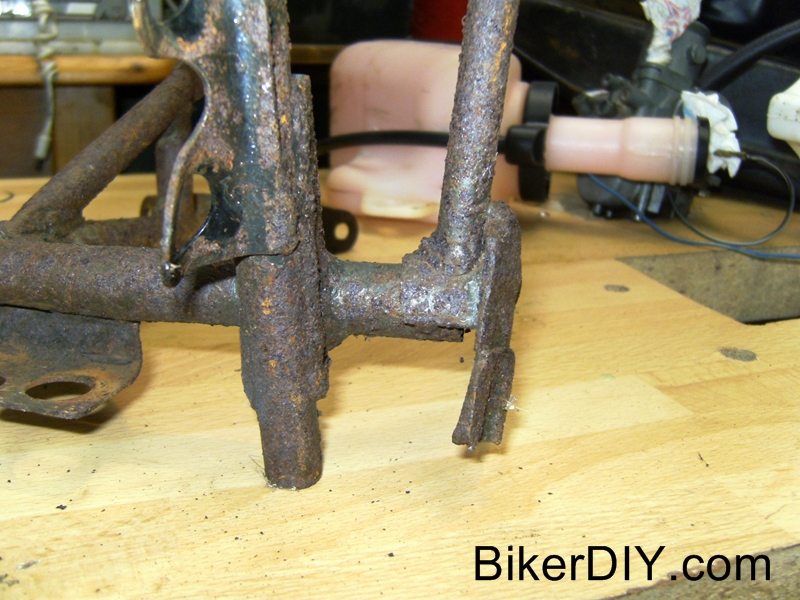
Apart from the rust, which you could expect on a 22 year old bike, the whole thing was out of shape. Maybe you can see in the above picture that the indicator mounts don’t match. One looked like this…
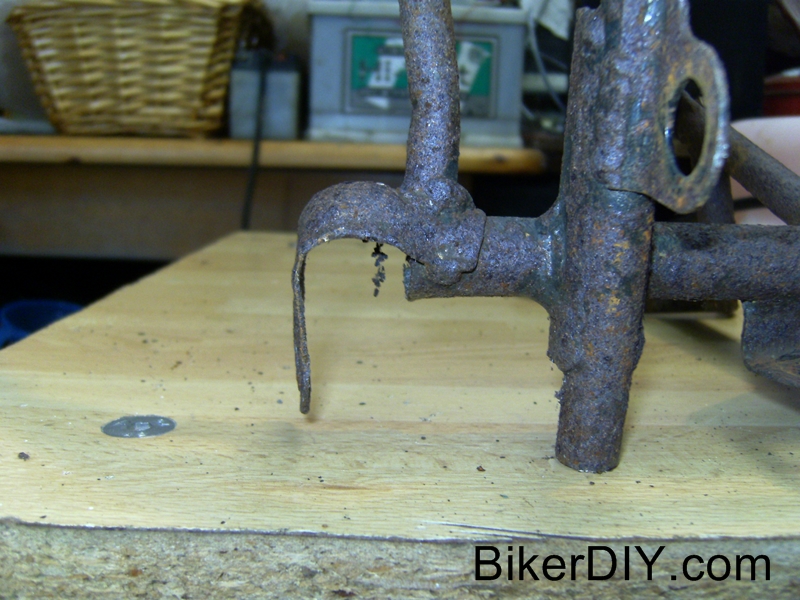
This was apparently a repair job. And the other, possibly more original looking side looked like this…
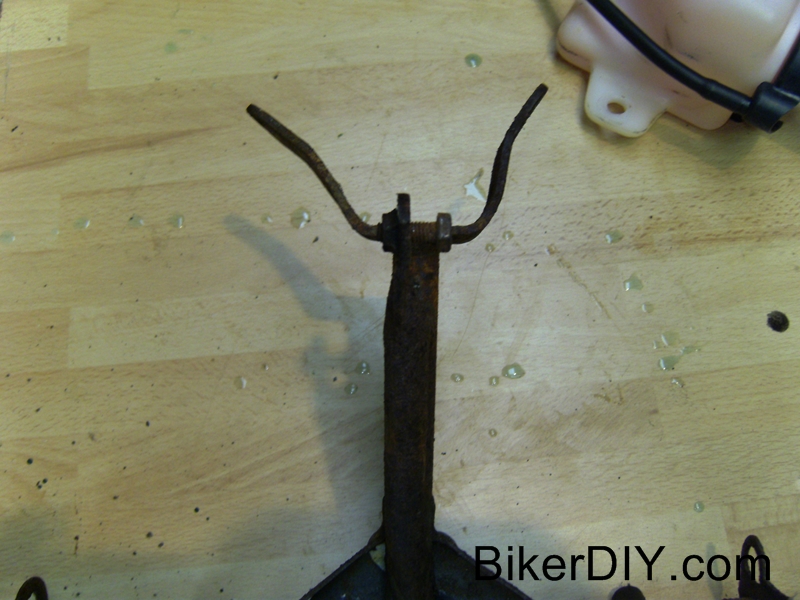
And as for the rest, it was reasonably square except for the mountings that bolted to the main frame, which was a fair bit out of shape.
The fairings sat straight enough on it but this was at the cost of the indicator mount positions, which in fairness up to now wasn’t an issue because the bike didn’t have indicators on it. But since my intention is to fit indicators again I needed to have the frame still hold the fairing square and also have the indicators and mirrors in the right place.
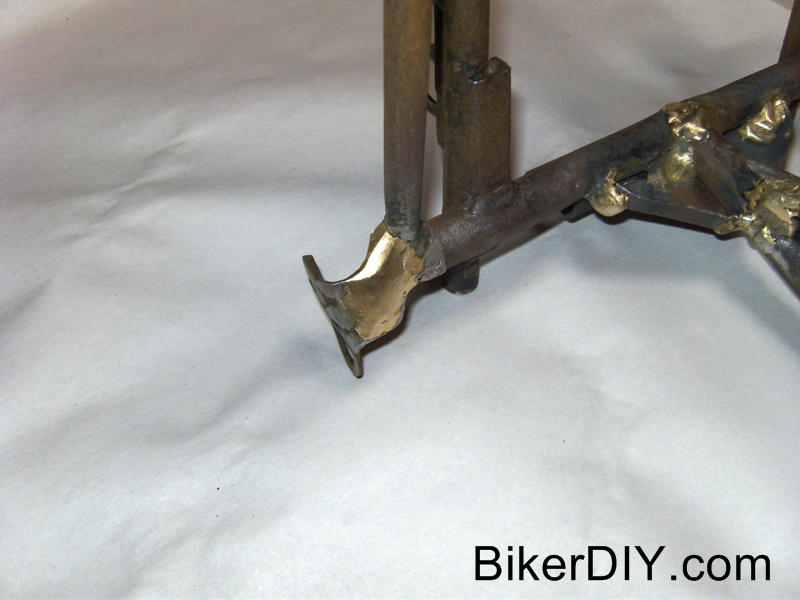
The donor bike couldn’t help me here as it’s brace was in a similar shape, and my Suzuki guy says you won’t get a straight one anywhere second hand. So I set too with torch, hammer and persistence and made it so the fairings where straight on the frame and the indicator mounts where where they were meant to be (I hope). The biggest challenge was the left hand indicator mount as I didn’t have enough metal to work with, so I had to build up a good bit.
You can see from the amount of brass in the above picture just how much cutting and brazing went on. It’s not exactly the shape it would have been when it was new, but it seems to hold the cowling square and the indicators should be in the right place, whenever I find indicators for it that is.
I figured I wasn’t easily going to get a complicated piece like this to a paint-able level with what I have here (I hadn’t discovered the electrolysis method yet), so I clean it all up and used Hammerite in a can (magic stuff ). In fairness it’s mostly hidden behind plastics and the bit you can see is around the clocks and matt black is a good finish to have here I think.
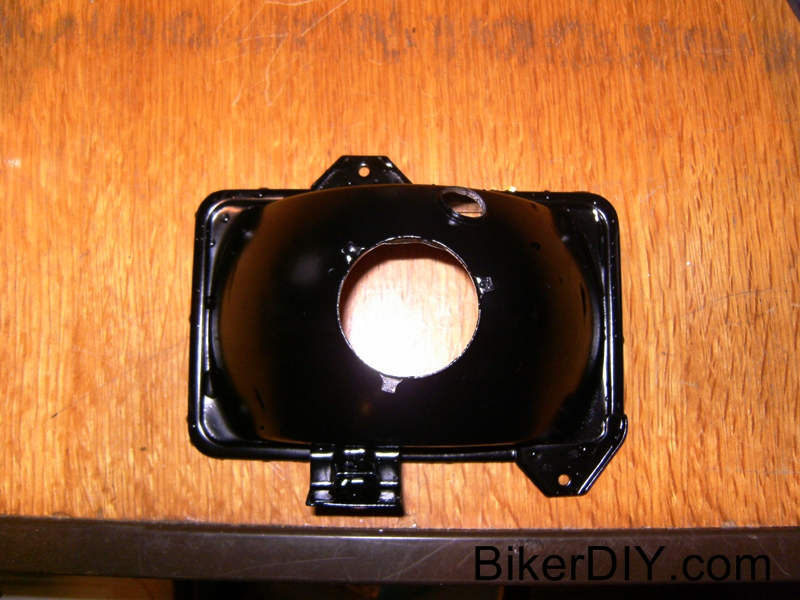
I also gave the parts for the headlight a treatment of the same.
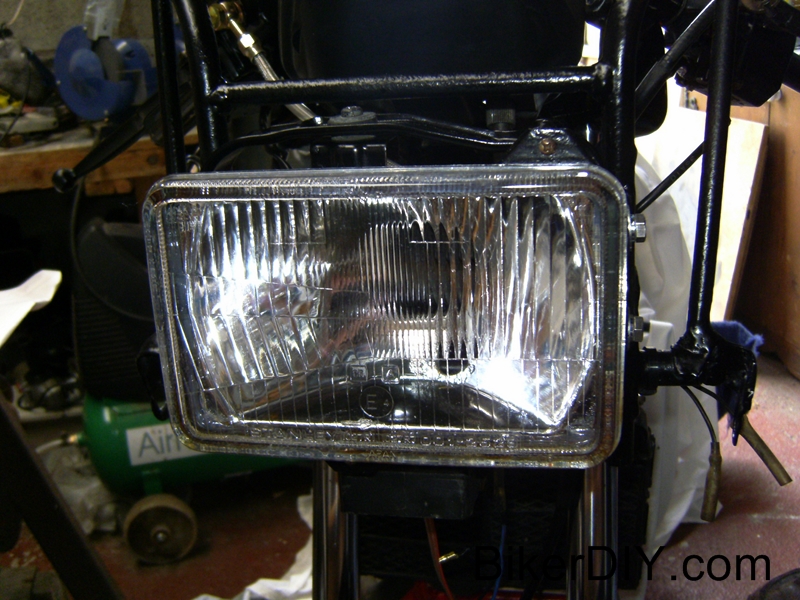
I broke the headlight down to it’s component parts to clean it up, and it came up nice.
So one more bit is done and the headlight bulb that came with it even works. I have to admit it was good to see the headlight and clocks lit up that first evening, it reminded me of those summer evenings/nights driving bikes back in the day and it made me feel like I was getting close to a running machine….now if I only had some wheels on my bike.
