
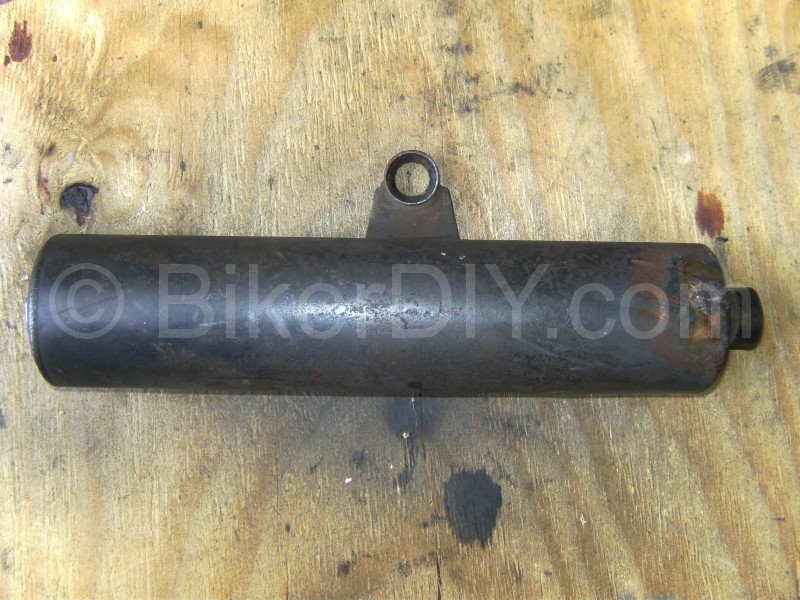
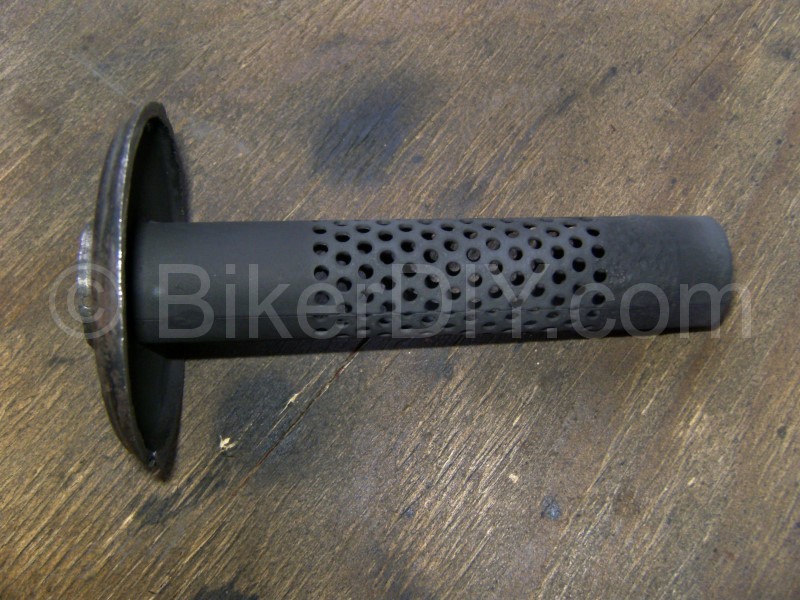
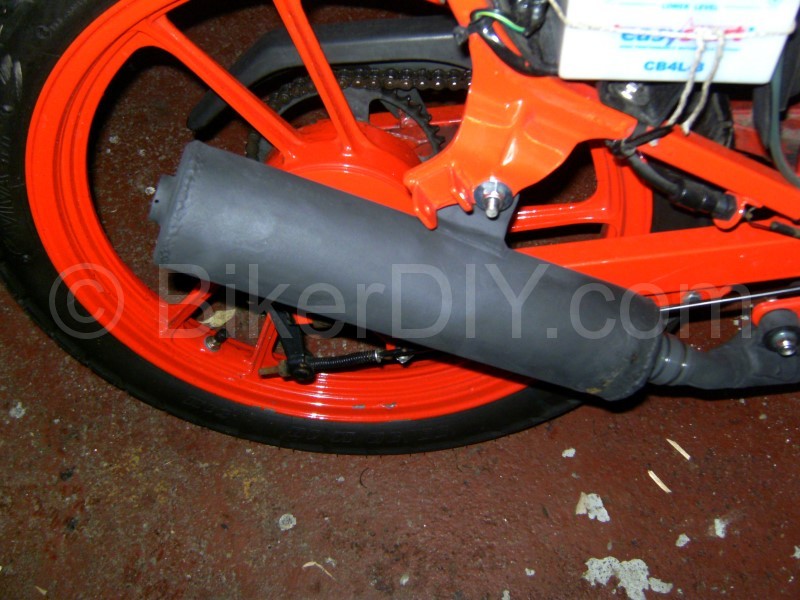
And so it’s the turn of the Gamma’s exhaust to get some proper attention. And last things first I’m starting with the end can.
As I mentioned in a previous post I have always intended to paint the exhaust system, partly for the look of it but mainly to afford extra protection against corrosion, because even though I have gained most of three Gamma’s along the way I have actually only gained one full original exhaust system for a 125, so the longer I could keep from losing this one to rust the better. However, any heat resistant paint I knew about up to now needed an oven to cure it correctly. Getting access to an oven of a sort big enough to fit the front section of exhaust pipe in was a problem for me. Then one day while in Halfords I wandered across a can of Hammerite High Heat paint. It claimed to be good up to 600DegC. It was also apparent it was designed with domestic chimney’s and the like in mind and not so much 2 stroke motorbike exhausts, but it was only a couple of quid for the can so I figured it was worth a try.
Nothing simpler is there? Bit of a clean/rub down, then rattle can spray the hell out of it and the job’s a good one. However, as it turned out, respraying the exhaust did kind of open up a can (pun intended) of worms for me.
So my thinking was that if I was going to seal the exhaust up with a (hopefully) good surface coating, then I should ensure everything inside was as it should be first so that I didn’t have to undo the paint work sooner than I would like.
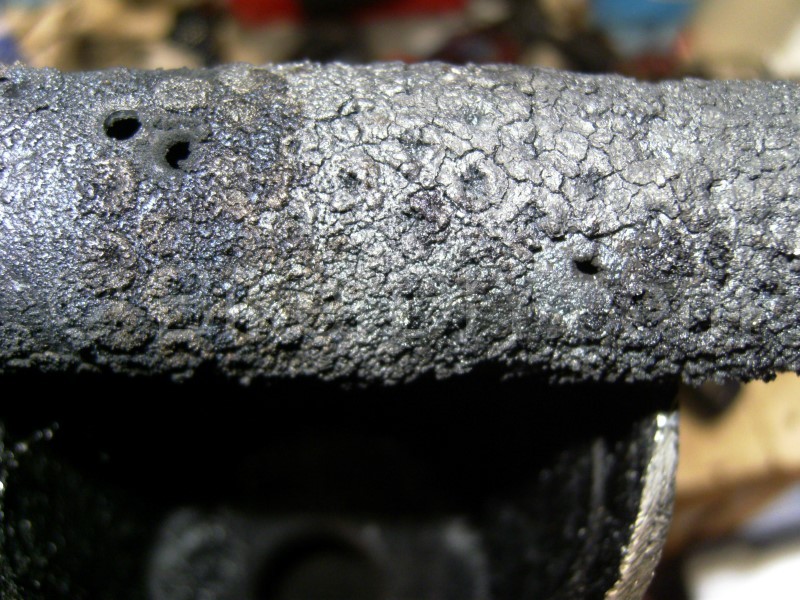
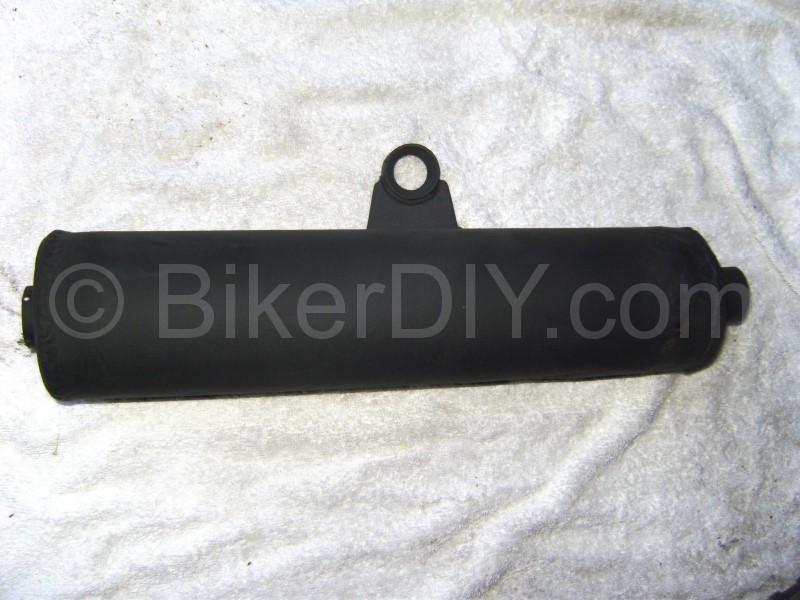
While striping it from the bike the outward face of the can doesn’t look to bad, it is a little scuffed, particularly at the front edge of the can. This is one of the points that hit the ground on the right hand side if the bike is let lie down which is almost certainly after happening more than once to a bike of it’s age and mileage.
Indeed it’s unusual I believe to have an original end can in the first place as most where changed out early on for the performance cans of the time in an effort to squeeze every last part of a horse out of the engine. (popular around my part of the world at the time was the Micron can).
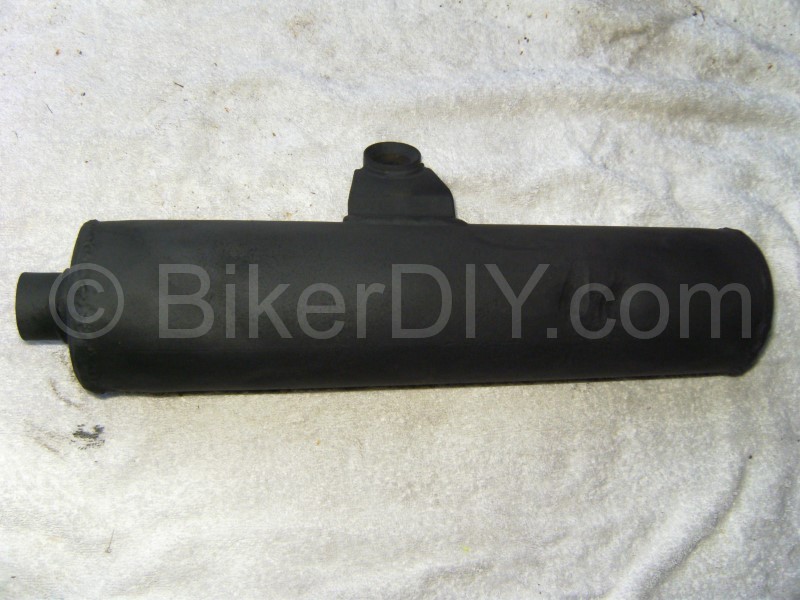
But then the wheel side (inside) of the end can shows signs of the possible “adventure’s” had by the bike.

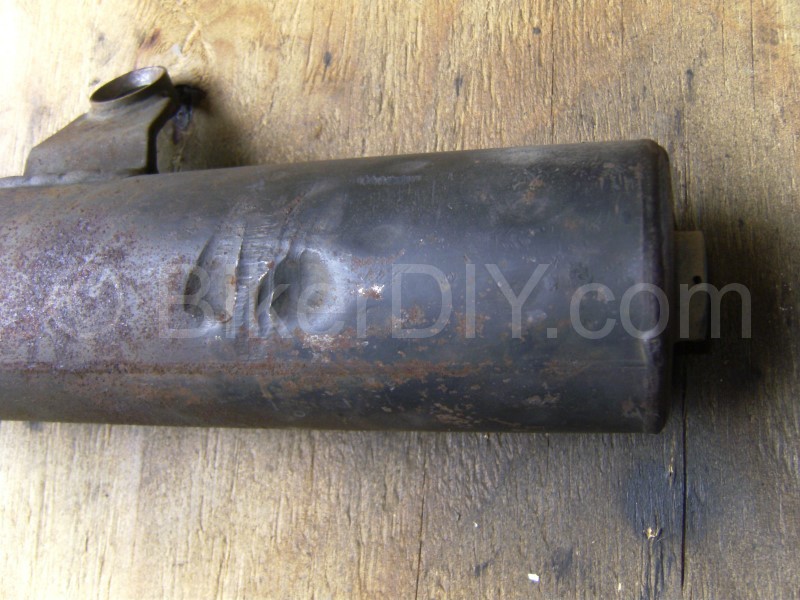
To be quite honest I have tried to guess how these gouges might have happened and I have given up. They don’t seem to match with anything on the bike that they might have come into contact with.
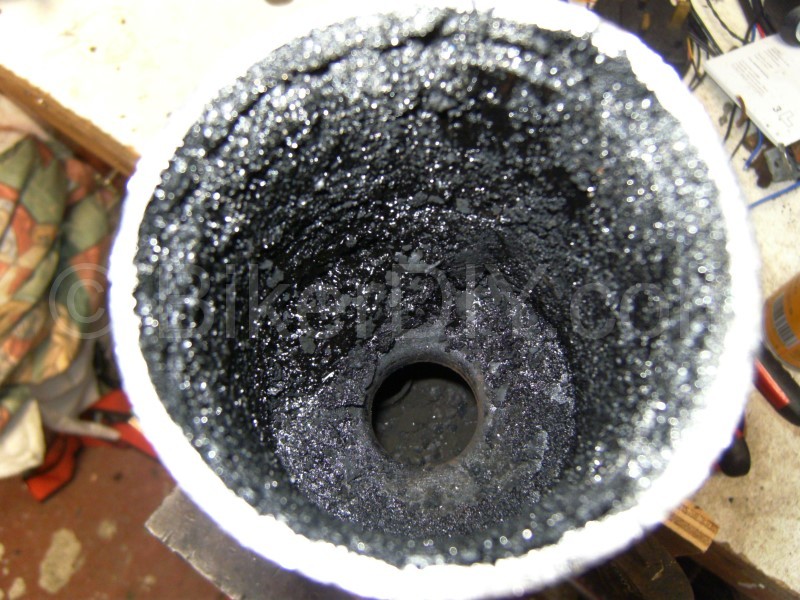
But anyway, unexplained damage aside, I figured the nearly 40,000 miles the bike and it’s exhaust had on it would mean it would be choked up a bit inside, what with it being a 2 smoke an’ all. So after building up a bit of nerve I get at it with a hacksaw to remove the end of the can. At this point I’m reasonably confident that it can be welded back up without much trouble, and it would be an opportunity to see what goes on inside.
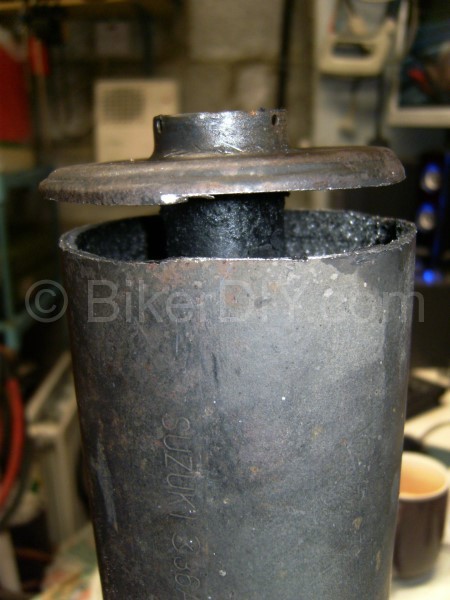
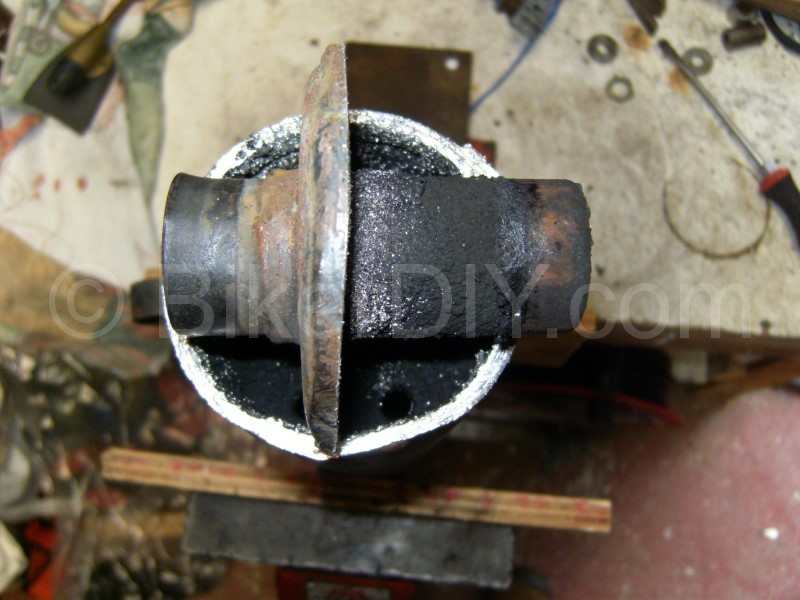
So I cut through the wall at the back end of the can all the way around with a hack saw avoiding cutting through the pipe in the middle. The wall was surprisingly thick, heading for 3mm or so, but it cut easily enough. After I had cut all the way around I expected the end cap would come out leaving the inside tube in the box but instead it turned out the last tube was welded into the end cap and was push fit into the last bulkhead inside of the can. I also discovered that the end caps appear to go about 14-15mm into the main cylinder of the exhaust which means that I ended up with a loose ring on the inside of the body of the exhaust. In hindsight it might have worked out nicer if I had either ground off the weld at each end to free the whole cap or if I had cut the cylinder 15-20mm in from the end. Oh well, good to know for the next time.
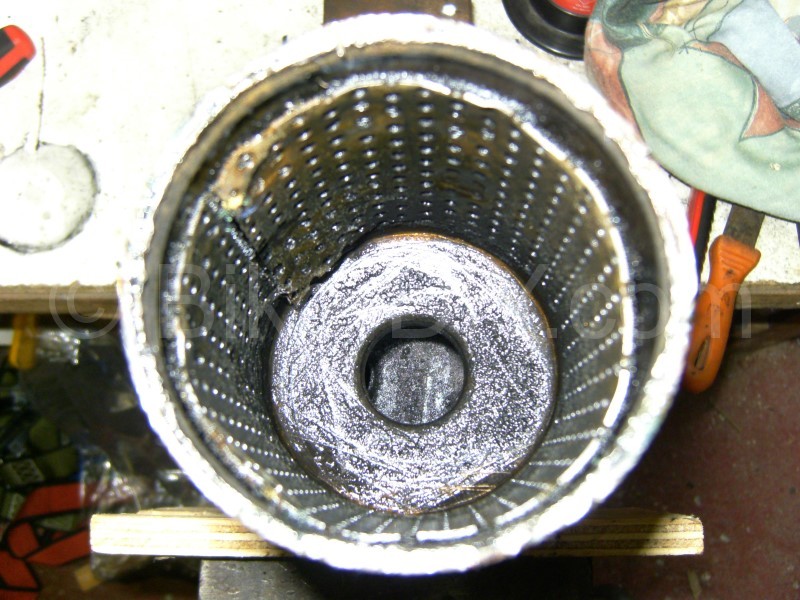
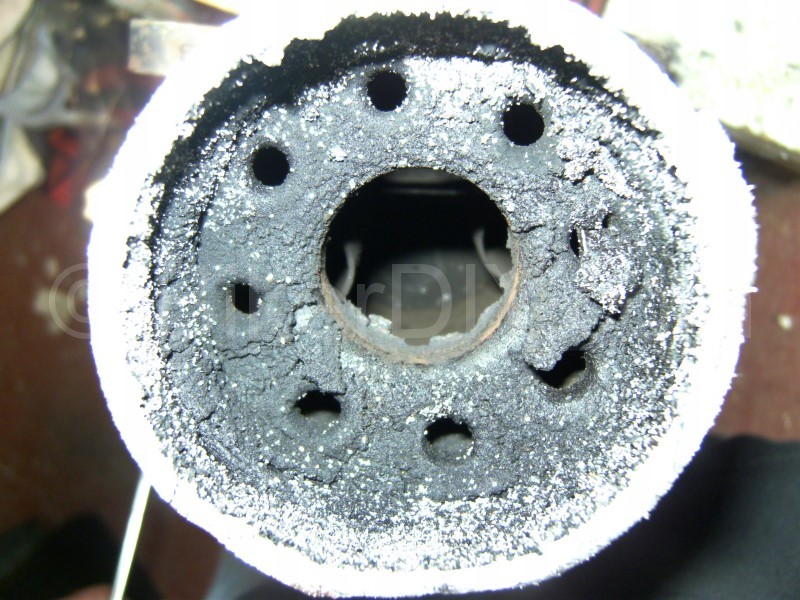
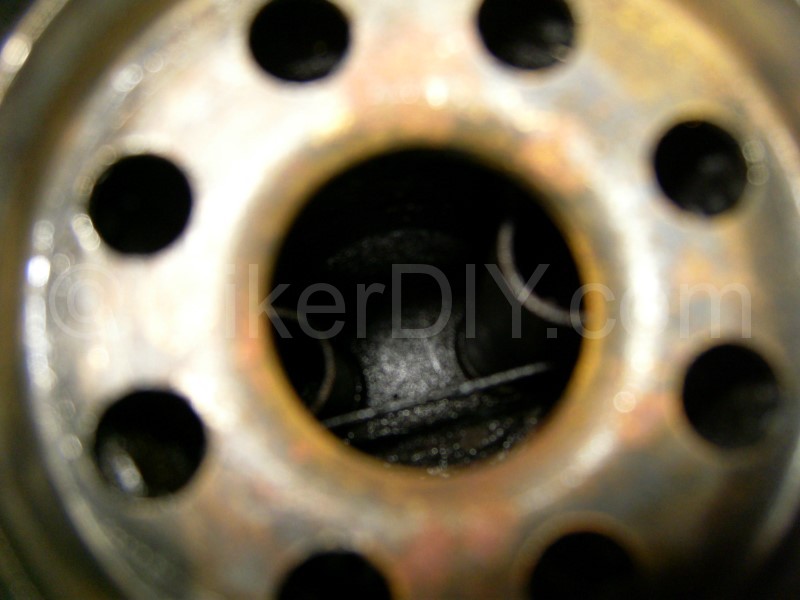
But back to the chamber in hand. It seems this last chamber of the can isn’t as such a part of the gas flow route for the exhaust as the final pipe is routed straight through the centre but it obviously has a purpose as the final tube is drilled full of holes almost it’s entire length allowing the exhaust gasses to expand into this chamber, or at least that’s what would happen in a clean exhaust.
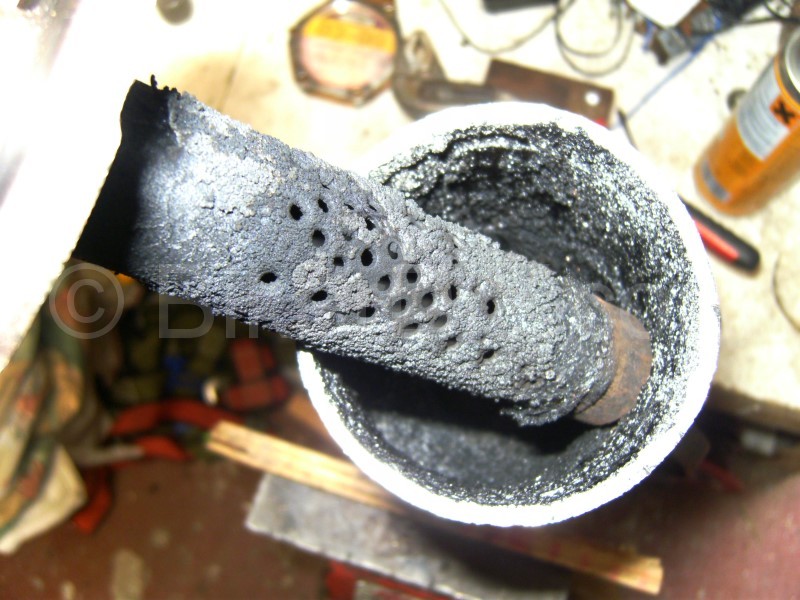
When it was out you could see just how much oily crap had built up over the miles and how blocked up the baffle was, and while I won’t claim to know the full purpose of this final chamber it’s obvious it wasn’t going to perform as intended while it was almost completely blocked up.
Some blowtorch and wire brush action clears out the build up easily enough…
…and I put a drop of high heat on it for good measure. Most of the paint probably won’t survive it being welded back in but sure it cost next to nothing to have it look the part for now.
I was giving the chamber the same blowtorch/wire brush treatment when I realised that under all that muck was several layers of light mesh held under a heavier mesh plate which I’m guessing was to help with sound dampening. With the built up oil and carbon I guessed it was working less than efficiently at this stage so I elected to take it out altogether. But then I spotted the rows of spot weld on the outside of the can that told me it wouldn’t let go without a fight that would probably leave me with more damage to the can wall than I would like, so it had to stay and just be cleaned as much as I could manage.
The other end of the can was a different layout but in a similar condition. This end was just a short pipe opening into an open chamber with 2 internal pipes of differing lengths passing through the bulkhead to the next chamber.
There didn’t seem to be any mesh padding involved on this side so the old blow torch and brush pretty much clean it out completely, which by the way I should have mentioned earlier, is not a job for an enclosed area as 20 odd years of 2 stroke oil build up and carbon can make for some thick fumes at times.
Once clean out enough for me to be happy it was time to weld the end caps back on. The end cap that I first cut off went back on nicely enough or at least I’m happy with it…
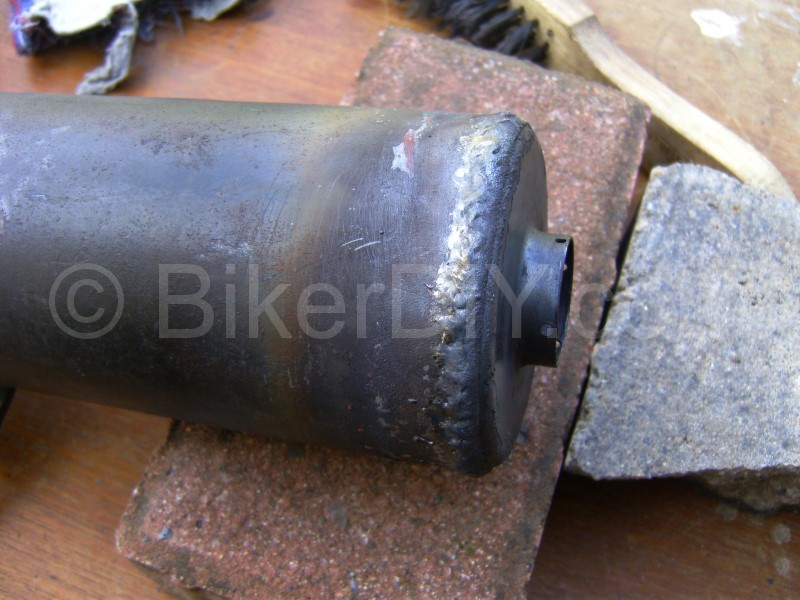
But the engine side end cap proved more of a challenge…

Apparently there had been a lot of damage to the outermost edge at this point which had been subsequently repaired with brass filler rods and the brass just blew away when I tried to weld in with steel. And I have to say it proved quite a challenge for me with my very limited skill in gas welding to get this end sealed up and I’m still not entirely happy with the finish, but persistence and a coat of paint covers a lot of sins.
So now that I have an end can I am happy with, it’s time to move on to the rest of the exhaust which is of simpler design and therefore must be simpler to work with. Um right..
P.S For any who might be interested I put together a basic diagram of the internal layout of the Suzuki Gamma rgr125 end can (36A0-1).
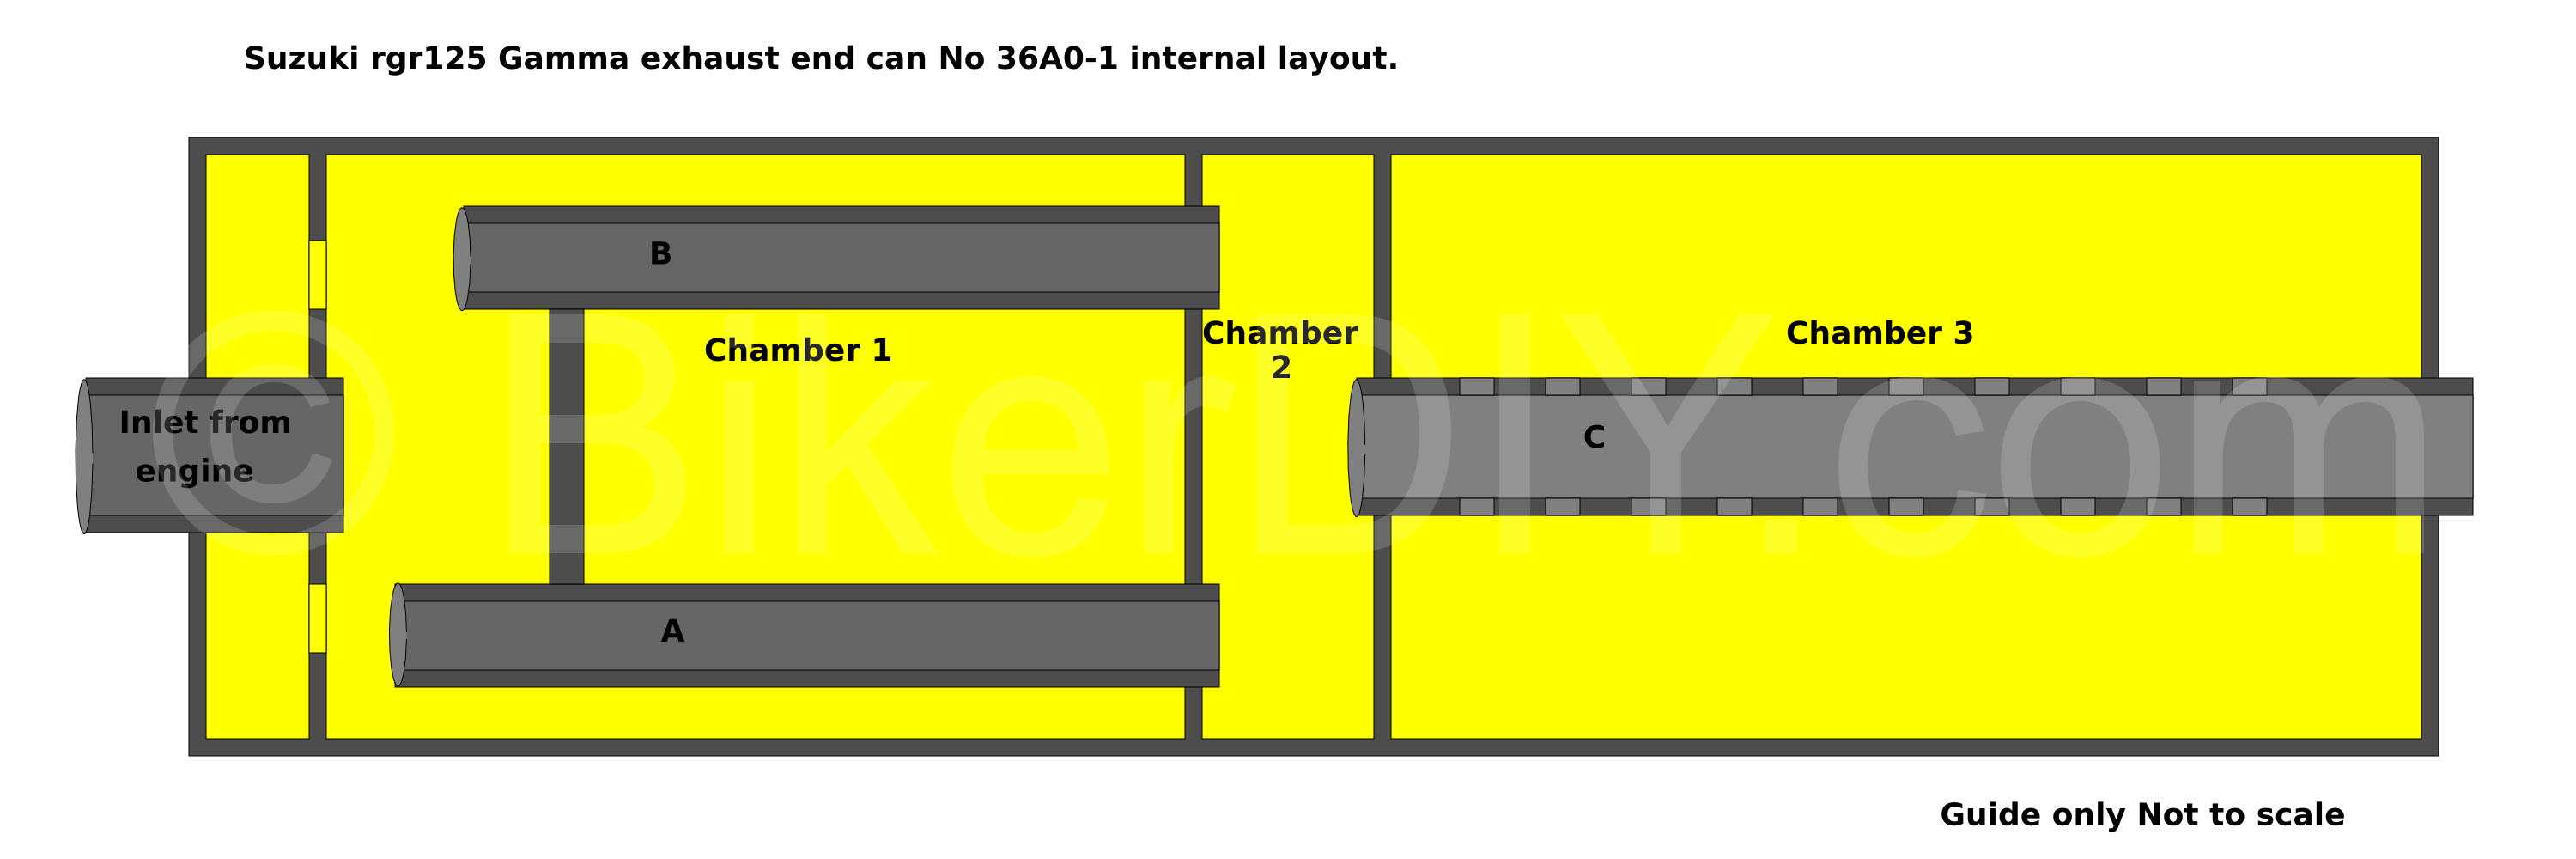
P.P.S I’ve been told by a Suzuki agent that they used, back in the day, to drive a bar down the end pipe to pierce through the bulkhead between chambers 1 and 2 and this hole allegedly improved power output from the bike. It is highly unlikely I will test this out on my one and only exhaust but I thought it was worth a mention. Maybe someone with an abundance of end cans and/or confidence would like to try it and let us know whether it helps or not.


